Wednesday, January 29, 2014

Algae Growth and Plants Yellowing

Over a week we started having problems with algae which continue to grow despite steps eliminate the problem. We've created shading, and reduce the water level in our grow beds, its slowed the spread but still has not disappeared. At this point I'm looking into adding some Humic acid to sump tanks in order to darken the water up so that the algae will die off.

Here's good video regarding algae and humic acid.

Hoping this will do the trick as some new algae has appeared in the new grow beds at are currently cycling.


Algae in the sump tank.

Another problem we're having is nutrient deficiency, mainly iron. I believe this due to us jumping the gun planting  before completely cycling the grow beds.


The yellowing indicates a lack of iron and other nutrients. To fix this we are adding 
Chelated powdered iron Fe-DTPA and Seaweed extract called Maxicrop which contains nitrogen potassium, phosphorus, sulphur, iron, copper, zinc, zinc, manganese, etc.
Here's a link to some good information about the best choice for Chelated Iron.


Wednesday, January 15, 2014

Grow Bed Errors

As noted earlier number of errors have been made despite the amount of research done prior to even starting this up. We are both learning a lot as we go along. One major but easily fixed error was planting some plants in the media without cycling for at least six weeks, so that beneficial bacteria called nitrosifying and nitrifying bacteria would colonize the media in the grow bed. These bacteria eat Nitrite and transform it into nitrate which plants need for growth.
So on the first two grow beds we left the plants in them just to see what would happen, the last two beds will be correctly cycled for six weeks. In the photos below you see the plants yellowing resulting from deficiency of nutrients.
The second mistake was making the stem pipe and bell siphons to high or tall causing water levels to raise near the very top of the media before draining. This mistake created two problems, one causing the media to float and shift  constantly, at times we would find the plants completely buried under media over night. An other result of high water levels allowed algae to form on the surface of the media. To fix this we simply reduced the hight of the stem pipe and bell siphon so that the water would begin to drain around two inches below the surface of the media keeping it dry so the algae would die.


Plants yellowing from lack of proper nutrients.


Algae forming on the media surface.


Reducing drain level to two inches below media surface in order to keep surface dry and prevent the spread of algae.
For now everything seems to working fine, regarding the grow beds at least.


Tuesday, January 14, 2014

Setting up the system

Setting the system is has been a challenge, there's a number of mistakes. No matter how we've read or watched on youtube there is always something we miss we missed. That's ok we learn from mistakes.
Anyhow we continued to put the system together. In October we move the fish tank from the garage and into a small shed, and added a second tank. Then we set up the media barrels in the greenhouse and  added the pumping.
Tank shed.

You can't see it, but on the roof is a solar panel running the aerators, and heaters, but the water pump.
One of the things we've learned is that with the solar panels it was costing 40-60 bucks a month to run  the heaters, pump, and aerators, so we switched to solar. The fish in the tanks are Tilapia and require a warmer warmer water temperature. Will be soon switching over to Koi as the need to kept as warm and  we can sell them at a much higher profit.


Media barrel rack made from discarded extended pallet. The sump tank is at the far corner.


One of the immediate lessons learned was to test your barrels for leaks prior to adding media, save you a lot of time. In the case of this barrel there was pinhole in the center of the bug hole cap, easy fix with some silicone. On another barrel the bug cap was completely unsealable and ended sealing with liquid nail chalking.


Due to the sump tank being at end of the barrel table instead of directly under it, a lot of pvc was used to direct the water from the bell siphons to the sump tank.


Grow bed water emptying out into sump tank.


Monday, January 6, 2014

Starting out.

Since June of 2013 my roommate Andy and I have been slowly putting together an aquaponics system in our backyard.  Andy had discovered aquaponics prior to my move in via a mutual friend of ours who is also an organic farmer.
He quickly jumped into installing an IBC tank in the garage for use in raising some Tilapia fish. Once I moved in, in  May I began reading about it and decided that  the idea of raising our own food which would be far more nutritious and less costly than anything from the supermarket got me excited, add to that the low learning curve required to put it altogether, and raise crops. I have no experience raising anything so I thought it would a great challenge to me to learn to do so.


So over the past seven months we've scraped together and or purchased what we needed to get the system up and running. We've been lucky to have able to acquire some key parts of the system for free, like this IBC tank, and a bunch of PVC pipe, recycled lumber, and other odds and ends.

This extra long reclaimed pallet become a table for our grow beds made which are from reclaimed barrels.
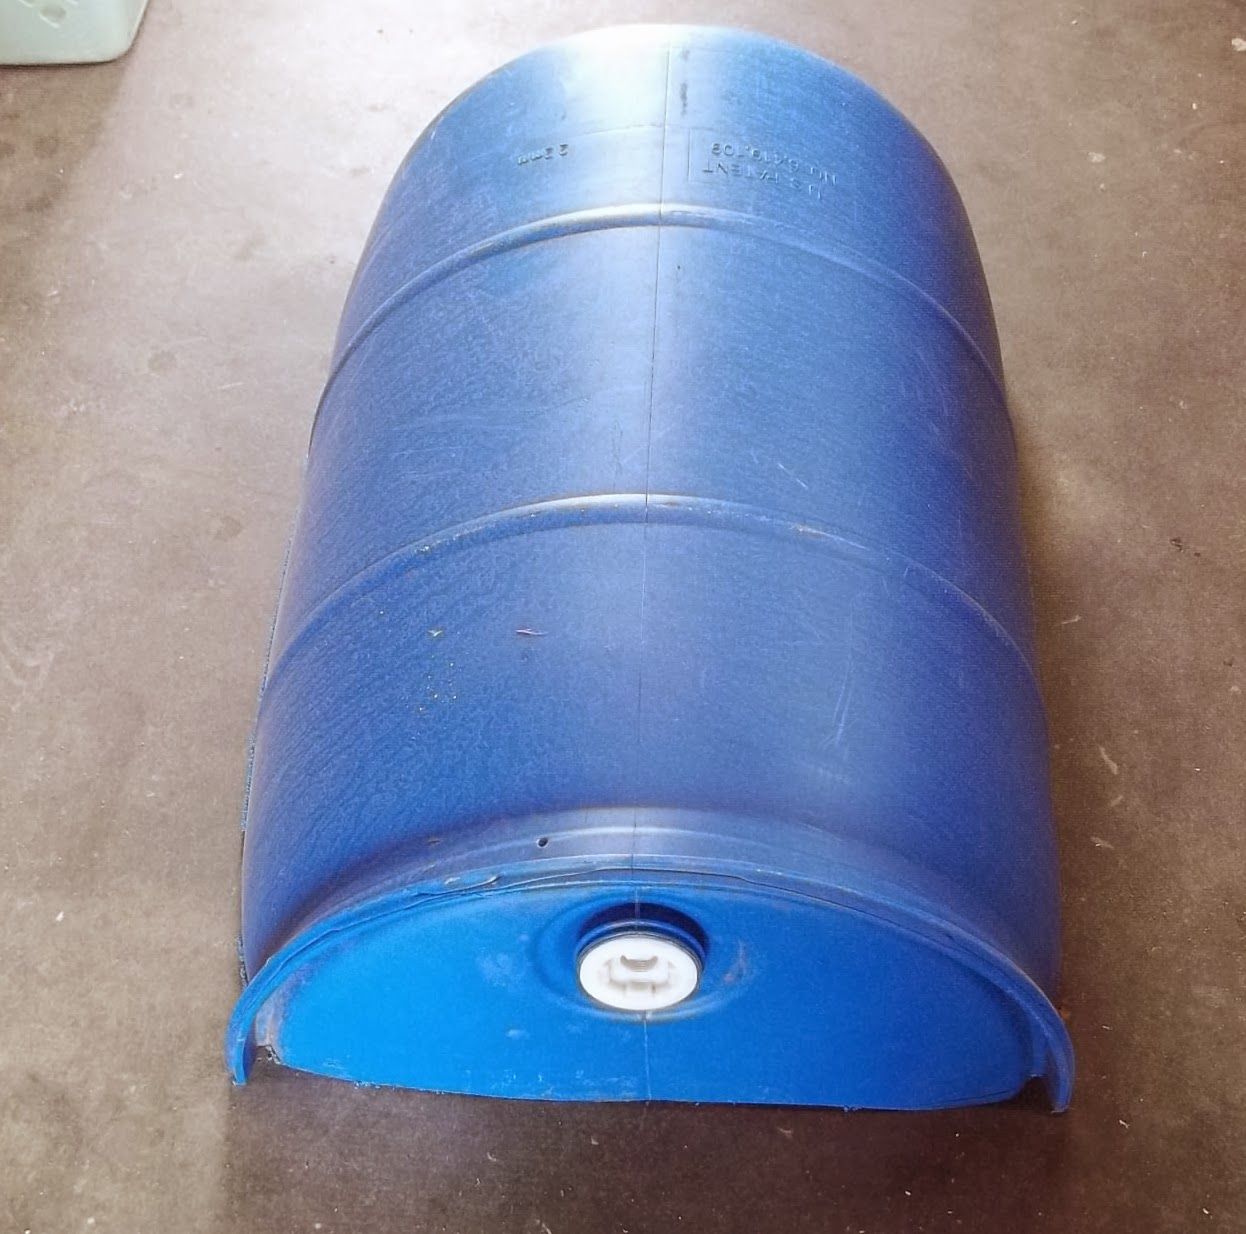
Reclaimed chemical barrels cut in half to make grow beds.

In August we had enough parts together to begin the build, but winter was right around the corner so we though it would be a good idea to build a green house. I found a great simple plan for a greenhouse online at this link. We bought all the parts at home depot for just under $200.00 the whole took job a total of 5 hours to build. After which we did no real work on the project until late November. 

After completing the greenhouse we set about building the barrel grow beds.

These are 55 gallon barrels cut in half that we acquired from a water treatment plant.
A one inch uniseal fitting from Alliedaqua.com was inserted into a 1.75 hole drilled
near the edge  the barrel, this is where the standpipe and bell siphon will go.
Note: This actually to close to the end of the barrel, as the angle here  forced me to shape the guard to  the curve of the barrel so that no debris would enter under it. Center of the barrel is best and or a few inches from the end works best.
Unseals are pretty awesome and easy to use, just drill the whole and plug it in, stick in your stem pipe and it's ready to go.
It's a very quick and easy alternative bulkhead fitting.
I get mine from alliedaqua.com.
Also related to that is a handy chart for drilling the right size hole for each size fitting.


Stem pipe installed. It's a tight fit, I had to lub it some dishing soap and pound it in with a rubber mallet.


After I completed the barrels I started work on making the bell siphons.
I found this simple design from the university of Hawaii.


About

We're two roommates in Marina Ca, who've jumped into aquaponics just out fascination with the whole idea for raising our own veggies and fish in our backyard. We both have no  previous experience  or know how in anything related to gardening for aquaponics. We're pretty much just clueless about the whole thing, but we are eager to learn and built on our new found passion.

Over the last 8 months we've managed to setup a working system which as of 26 Dec 2013 is fully operational, but still has some kinks that need to worked out. 

So we've decided it would fun to start blogging about our experiences in order to share and to learn from other enthusiasts into aquaponics.